


Nano Flip 3V3 Microcontroller ATmega328P Dev Board 3.3V Logic Level 2-Pack (Arduino Nano Compatible)
Nano Flip 3V3 Microcontroller ATmega328P Dev Board 3.3V Logic Level 2-Pack (Arduino Nano Compatible)
Couldn't load pickup availability
NOTE: For large quantity orders of the Nano Flip 3V3 with custom pricing please contact us directly.
This product has a datasheet!
This product has a 3D model!
This product has example sketches!
This product has a blog post!
Join our Reddit sub r/PTSolns to ask questions, get help from the community, share your projects, and inspire fellow makers with your creations.
Also available on
About this item
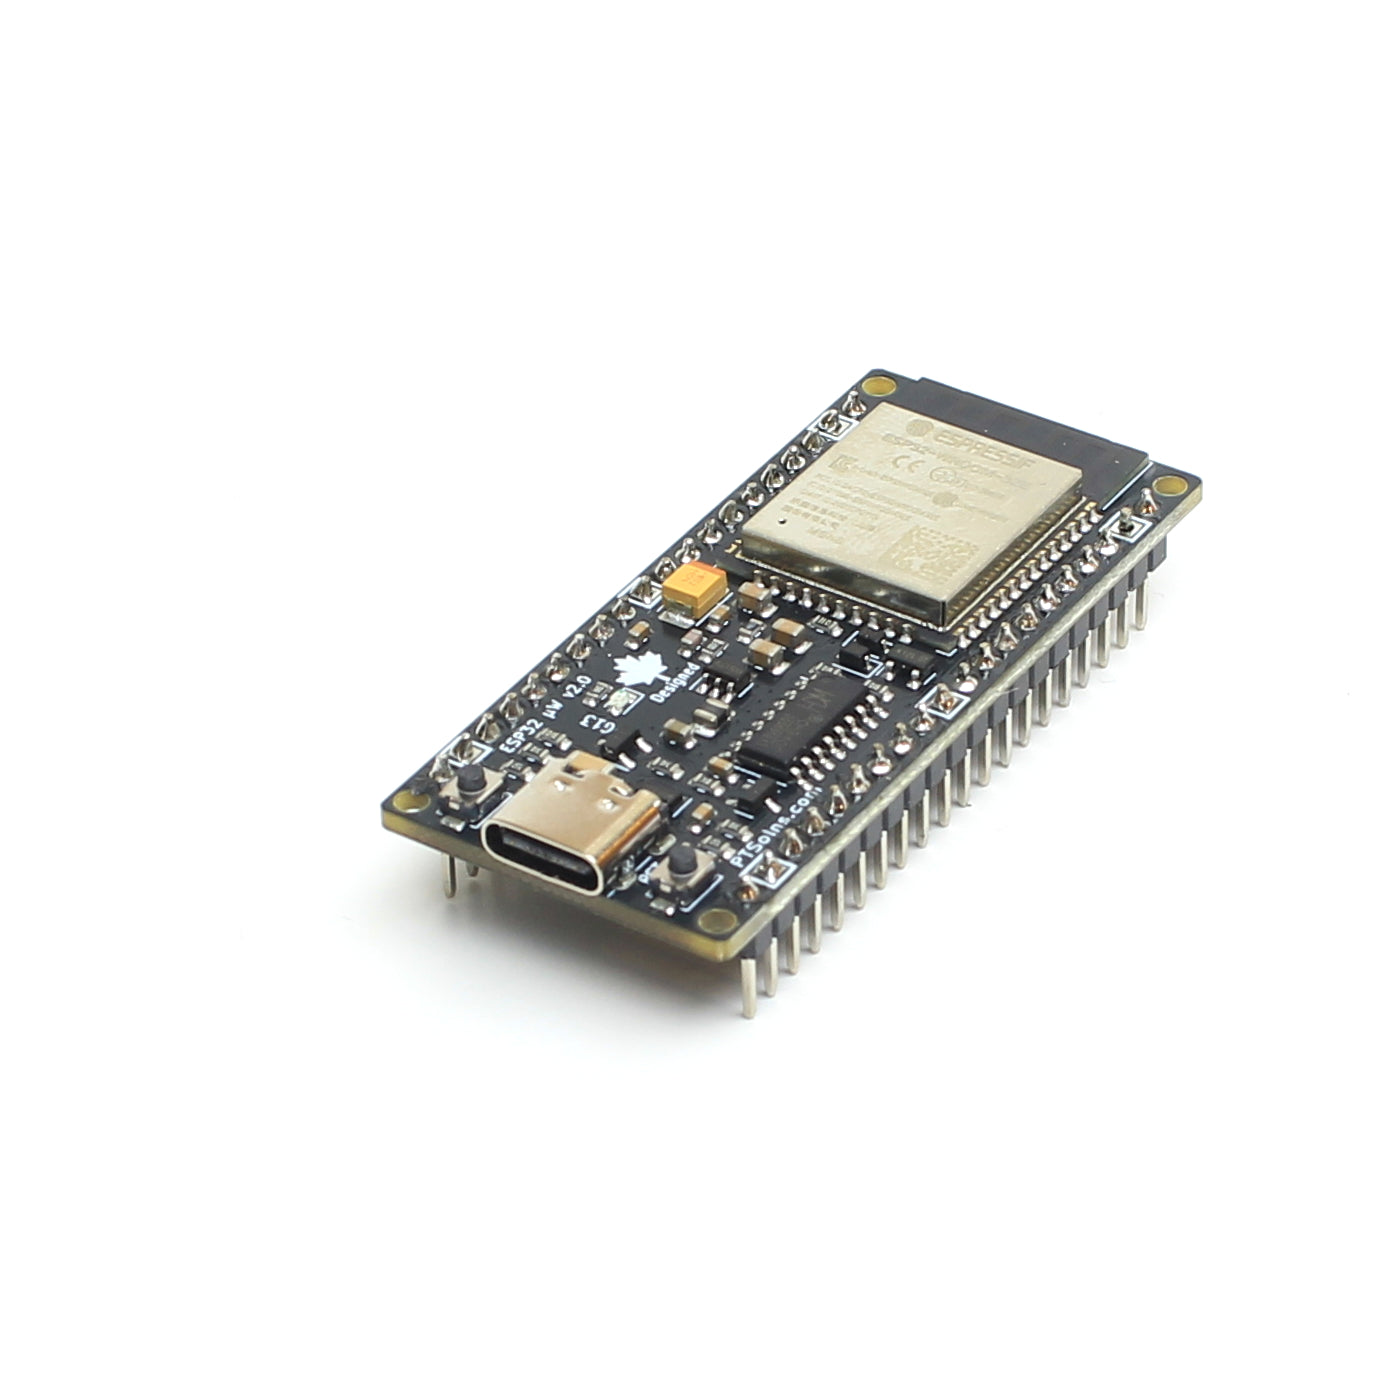
- 3.3V Logic Level: The Nano Flip 3V3 is the perfect bridge between the classic Nano and the Pro Mini, designed for projects that need reliable 3.3V operation at 8MHz. This Nano uses 3.3V logic level, but has the form factor of a Nano, Powered by the well-known ATmega328P microcontroller, the Nano Flip 3V3 offers all the features one would expect.
- Plug & Play Ready: The Nano Flip 3V3 microcontroller development board arrives fully assembled with soldered headers, and comes preloaded with the Optiboot bootloader and our custom “GetStarted” sketch, so you can start using it right away—no setup required. Simply power the Nano up and begin experimenting. A description of the sketch is available in the datasheet on this product page or on our PTSolns Documentation Repository.
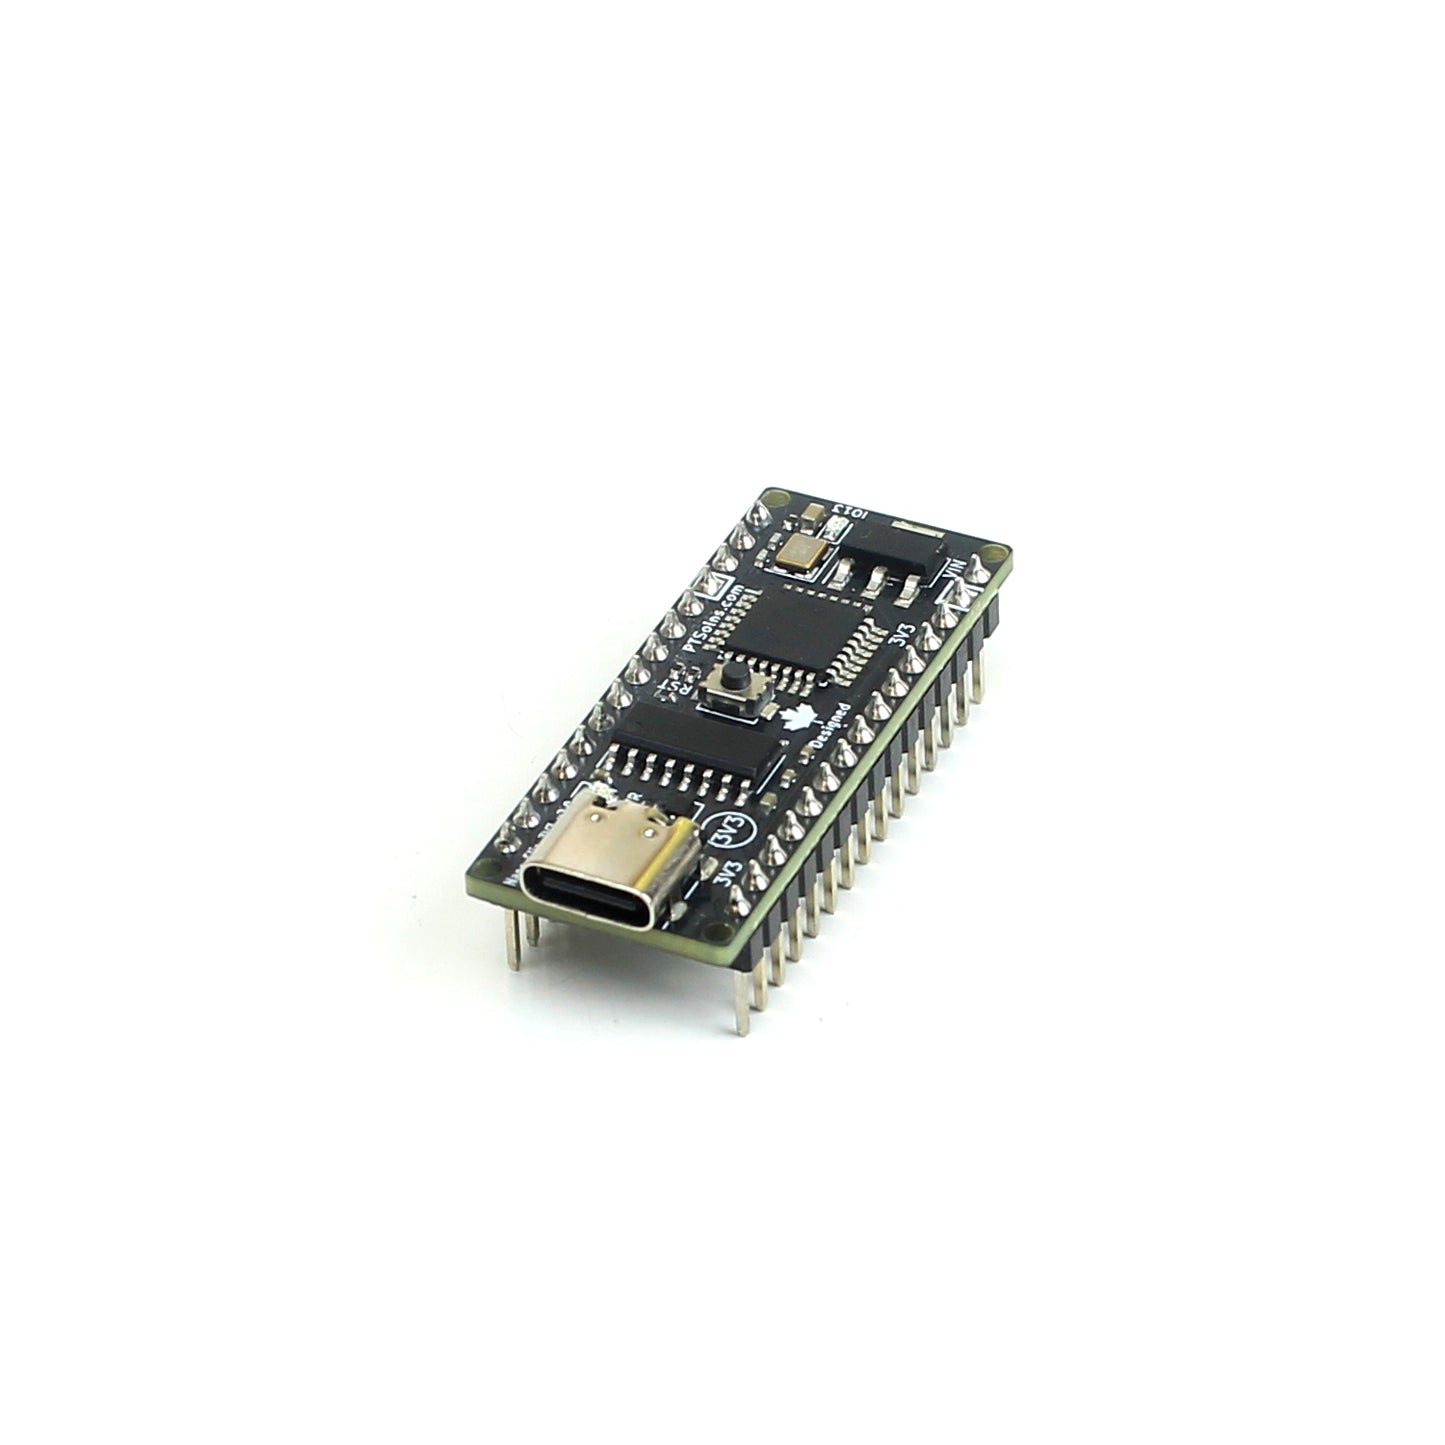
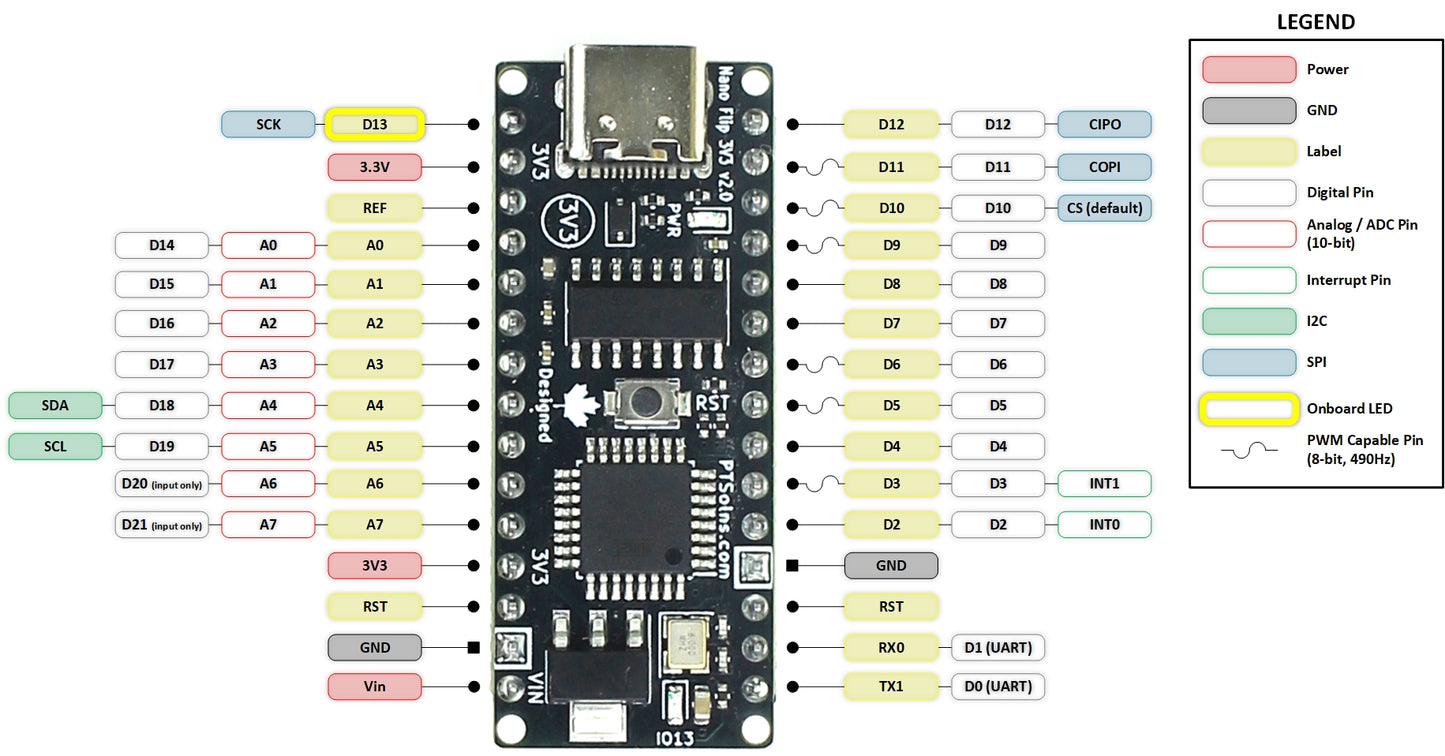
- Packed with Features: The Nano Flip 3V3 microcontroller features a modern USB-C port, programmable and power LEDs, a reset button, low-profile design, and operates on 3.3V logic level. The Nano includes 14 digital I/O pins (6 with PWM support), 8 analog inputs, and built-in I2C and SPI buses. For a complete list of features, pinout, and electrical ratings, please refer to the datasheet.
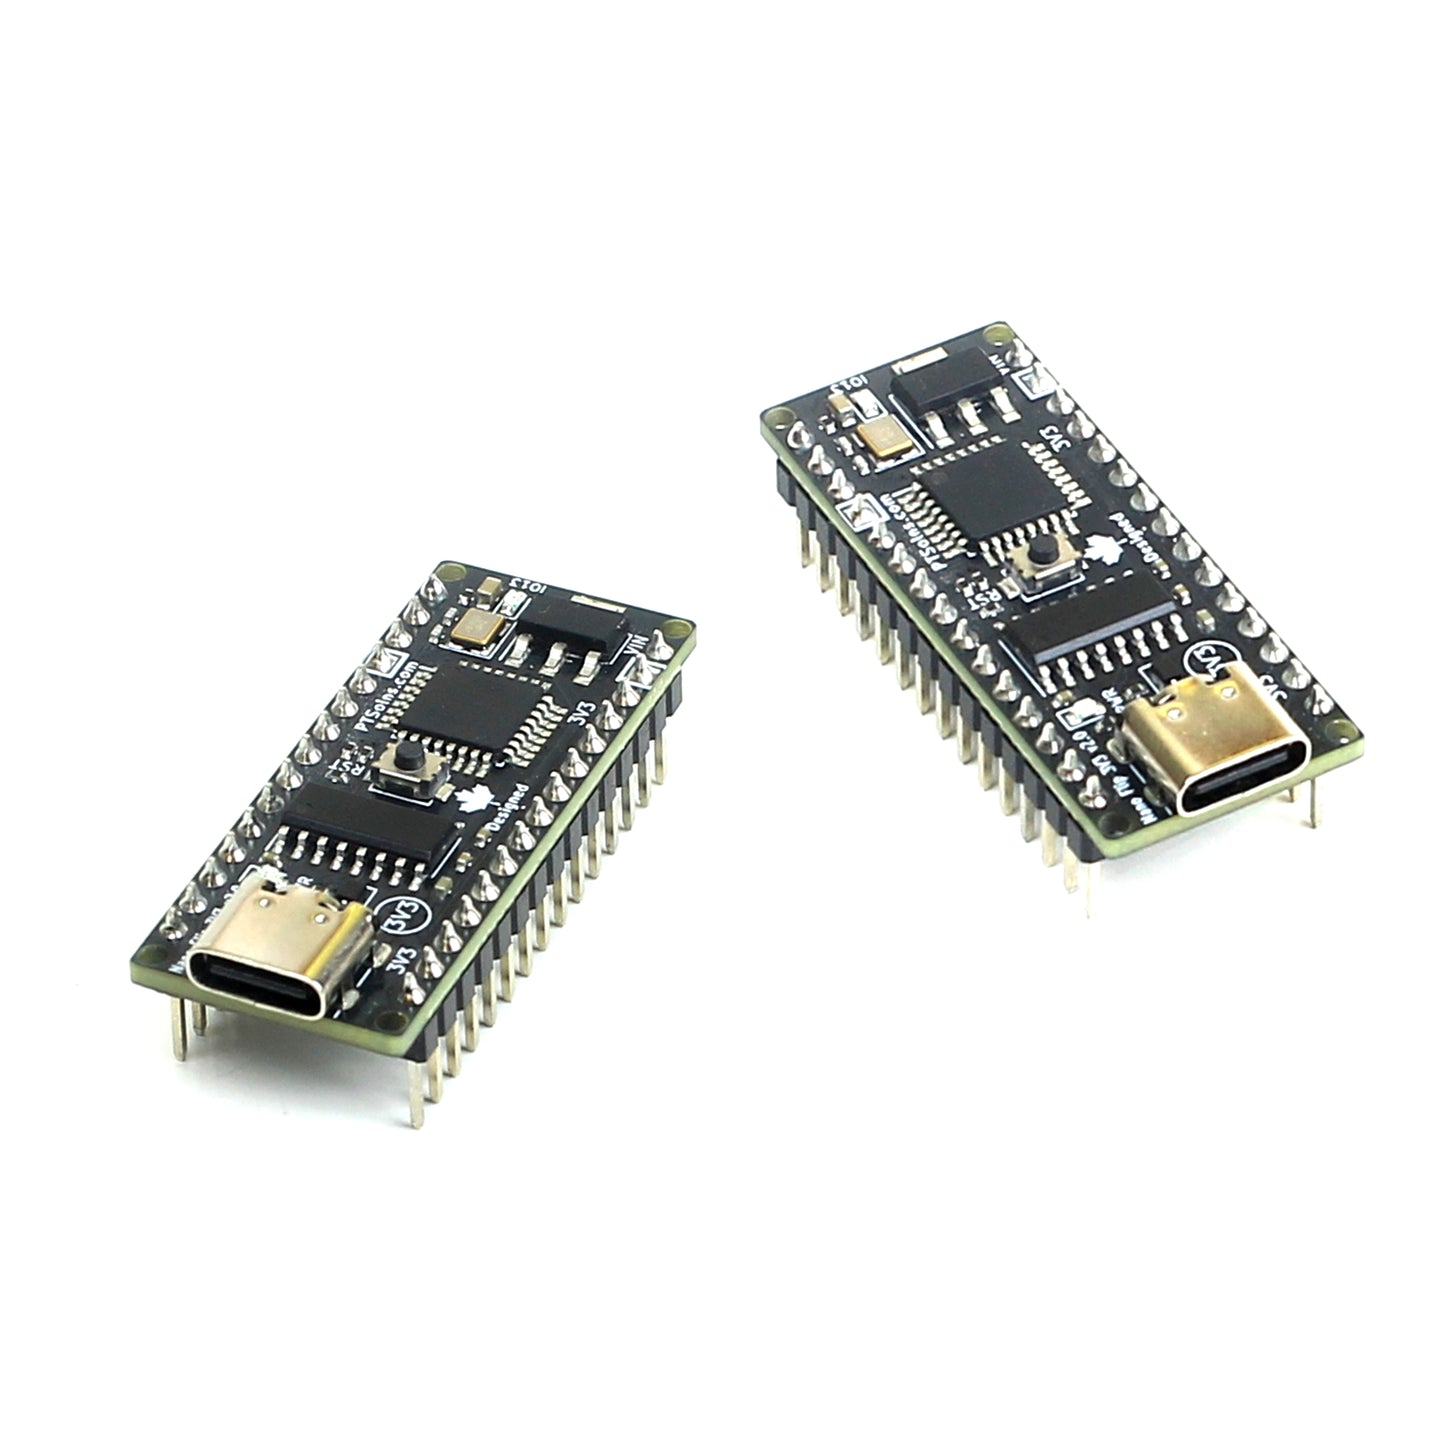
- What’s Included: Each package includes two (2) PTSolns Nano Flip 3V3 boards, fully assembled and individually QC quality checked. USB cable not included. Use a USB-C cable that supports data transfer, as some cables only provide power. To program the Nano Flip using the Arduino IDE or other platforms, install the widely used CH340 USB driver (a quick, one-time setup). Detailed installation steps are provided in the datasheet.
- Customer Support & Resources: We’re here to help. Contact PTSolns support for assistance or technical questions. Every PTSolns product is backed by our comprehensive resource library, including datasheets, schematics, 3D models, Fritzing files, and tutorials. All supporting material is freely available on our “PTSolns Documentation Repository”.

Product Description

This microcontroller operates on 3.3V logic NOT 5V logic. As a consequence there is no 5V rail available, but rather a second 3.3V pinout exists in its place. See the pinout diagram for details.
To program ensure to select "Pro or Pro Mini" in Arduino IDE and change the processor to ATmega328P (3.3V, 8MHz)

The Best of Both Worlds: The Nano Flip 3V3
The PTSolns Nano Flip 3V3 is the perfect bridge between the classic Nano and the Pro Mini, designed for projects that need reliable 3.3V operation at 8MHz. Powered by the well-known ATmega328P microcontroller, the Nano Flip 3V3 offers all the features makers, students, and professionals expect—backed by a vast online community, tutorials, and years of proven support. Whether you’re just starting in embedded systems or developing a rapid prototype, this board makes getting up and running easy.
Programming and powering the Nano Flip 3V3 is straightforward with the industry-standard USB-C port, while alternative power input options are also supported. The compact Nano footprint sits neatly on a standard-pitch breadboard, taking only five rows and leaving five free on each side. This ensures efficient use of prototyping space and makes experimenting fast and convenient.
Onboard features include a reset (RST) button, a power (PWR) LED, and a programmable LED on IO13. For low-power applications, the PWR LED can be disabled by cutting a rear jumper pad.
Every board comes ready to use out of the box. Male headers are pre-soldered, the updated bootloader is flashed, and a custom “GetStarted” sketch is preloaded so you can test functionality immediately—no initial programming required. Details of this sketch are outlined in Section 6.2.
The Nano Flip 3V3 is also designed to work seamlessly with other PTSolns ecosystem products, including the NTEA-Series, and more.
Each Nano Flip 3V3 is individually inspected and marked with a quality control sticker, ensuring reliable performance before it reaches your bench.
How to Program the Nano Flip 3V3 (Arduino IDE)
Full details on how to program the Nano Flip 3V3 can be found in Chapter 6 of the Datasheet. To program the Nano Flip 3V3 ensure that the board "Arduino Pro or Pro Mini" is selected, and the processor as "ATmega328P (3.3V, 8MHz)".
Default Fuses on the Nano Flip 3V3
The Nano Flip 3V3 has similar fuse settings as the original Pro Mini (3.3V, 8MHz), with an important difference. The brown out detection has been reduced from the 2.7V as on the original Pro Mini, down to 1.8V. Therefore, the default fuses of the Nano Flip 3V3 are as follows:
E:FE, H:DA, L:FF
Features of the Nano Flip 3V3 Microcontroller Development Board

- Operates on 3.3V logic level
- USB-C Port.
- Power (PWR) LED. Can be disconnected by cutting the jumper pad on the back.
- Reset (RST) Button.
- Pinout labels (on the back).
- Programmable LED Pin 13.
- Lead-free surface finish RoHS.
- Canadian designed!
Breadboard Friendly

Pinout Diagram

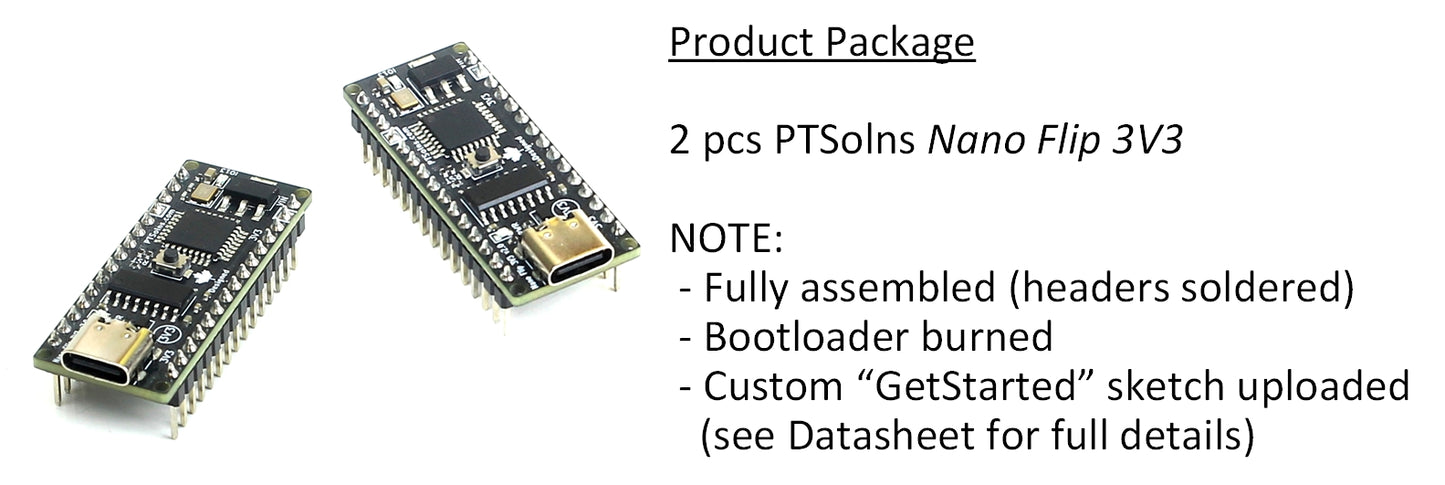
Ready-to-use out-of-the-box ... Fully assembled, bootloader burned, and "GetStarted" sketch uploaded!
- Fully assembled (Image with the circled "1" above): The Nano Flip 3V3 is fully assembled with male headers soldered in place. With the modern USB-C Port onboard, getting started is as easy as plugging it in.
- Experiment ready: The Nano Flip 3V3 has bootloader burned, and our custom "GetStarted" sketch has been uploaded.
- Test 1: Onboard LED (Pin 13) Blink Unique Pattern. Observe a blinking pattern on the onboard LED.
- Test 2: Onboard LED (Pin 13) Blink Reset Pattern. Observe a different short blinking pattern upon pressing RST.
- Test 3: I2C Scanner (Image with the circled "3" above). Connect a peripheral via I2C and automatically scan its address. View the results in Serial Monitor on baud 9600 (See NOTE below).
- Test 4: Pin 9 Fade (Image with the circled "2" above). Connect an external LED and a resistor from Pin 9 to ground and observe the classic "Fade" example.
- Test 5: Analog A0 Read. Connect a wire to the A0 Pin and observe the readout on the Serial Monitor on baud 9600 (See NOTE below).
Technical Specifications
| Input voltage on USB-C | 5V |
| Input voltage on Vin Pin | ≤12V |
| Current draw on a GPIO | 20mA |
| Max current draw on all GPIOs | 200 mA (IF OPERATING in “Stable” CONDITIONS. See Datasheet for important details.) |
| Max current draw on 3.3 V pin | 800 mA (IF OPERATING in “Stable” CONDITIONS. See Datasheet for important details). |
| Total External Current Draw | 800 mA (IF OPERATING in “Stable” CONDITIONS. See Datasheet for important details.) |
| Microcontroller | ATmega328P, AVR 8-bit CPU, Up to 20 MHz, Flash Memory: 32 KB, SRAM: 2 KB, EEPROM: 1 KB, Peripherals I/O Pins: 23, ADC Channels: 6 ,ADC Resolution: 10-bit, PWM Channels: 6, Timers: 3 (2x 8-bit, 1x 16-bit), USART: 1, SPI: 1, I2C: 1 |
| Length | 43.18 mm |
| Width | 17.78 mm |
| Weight | 6 g |
| Material | Lead free HASL-RoHS surface finish, FR-4 base |
| Mounting Holes | 4x each with 1.651 mm diameter, 15.24 mm by 40.64 mm spacing. |
| USB-C NOTE | Please use a USB-C cable that can support data transfer. Not all USB-C cables support data transfer, and can only power a device but not program it. |
Other Names
- Nano Flip 3V3
- PTS-00205-001
- PTS-00205-002
- PTS-00205-101
- PTS-00205-201