
Warning! The following tutorial MAY cause damage to your microcontroller, laptop, and sanity. Proceed with caution...
Have you ever read in a blog or tutorial or seen in a YouTube video someone warning to never directly power a servo motor from a microcontroller development board such as the popular Nano or Uno? Though this is sound advice, is it always true, or is there some wiggle room? In this post we explore exactly this using our Nano Flip, and a commonly used 9g 360° servo motor.
Introduction
At first thought, it seems obvious to not power a servo motor, or any motor, directly from a microcontroller development board. And yes, we would still provide this a blanket statement. There are several reasons why not to do this, but most predominantly the current draw may exceed the ratings and cause something to burn out.
There are three different events we should consider when powering a servo motor:
- Motor start up current,
- Motor steady state current,
- Motor stall current.
Typically the start up and stall currents are much higher than the steady state currents. For a servo motor like the one we are using, this could be in the range of 0.5 - 1.0 A. Such large current draws can cause damage along the power chain.
The question now becomes, can the Nano Flip onboard power circuitry reliably and safely satisfy such demand? To answer this, we should consider two different modes to power the development board.
- USB-C powered,
- Vin Pin powered.
In the case of powering the Nano Flip from the USB-C port, then actually the onboard 5 V voltage regulator is entirely bypassed. Only a single Schottky diode sits in between the USB power and the 5 V rail. This diode is rated for 1 A, and therefore shouldn't cause any issues. Therefore, the potential current bottleneck is with the USB port current rating. Most USB 2.0 ports have a rating of 500 mA, therefore we should avoid these. However, any newer USB port (USB 3.x, USB-C) can handle 900 mA or more. So as long as you avoid USB 2.0 ports, you should have enough juice.
In the case of powering the dev board and servo from the Vin pin, the onboard voltage regulator is called into action then we need to consult the Nano Flip datasheet to see what it can handle in terms of supplying the current. The datasheet discusses this in Section 5.1, and it can be seen that if Vin = 7 V, then the 5 V rail can supply up to 800 mA. The danger here comes if the input voltage is higher. Although the dev board can accept 12 V input, but at a large current draw the voltage regulator will fail (and it can fail dangerously in a way that can damage the microcontroller downstream ... we recently made a YouTube video about this which you can see here).
With these concepts in mind, let's quickly discuss the test setup.
Test Setup
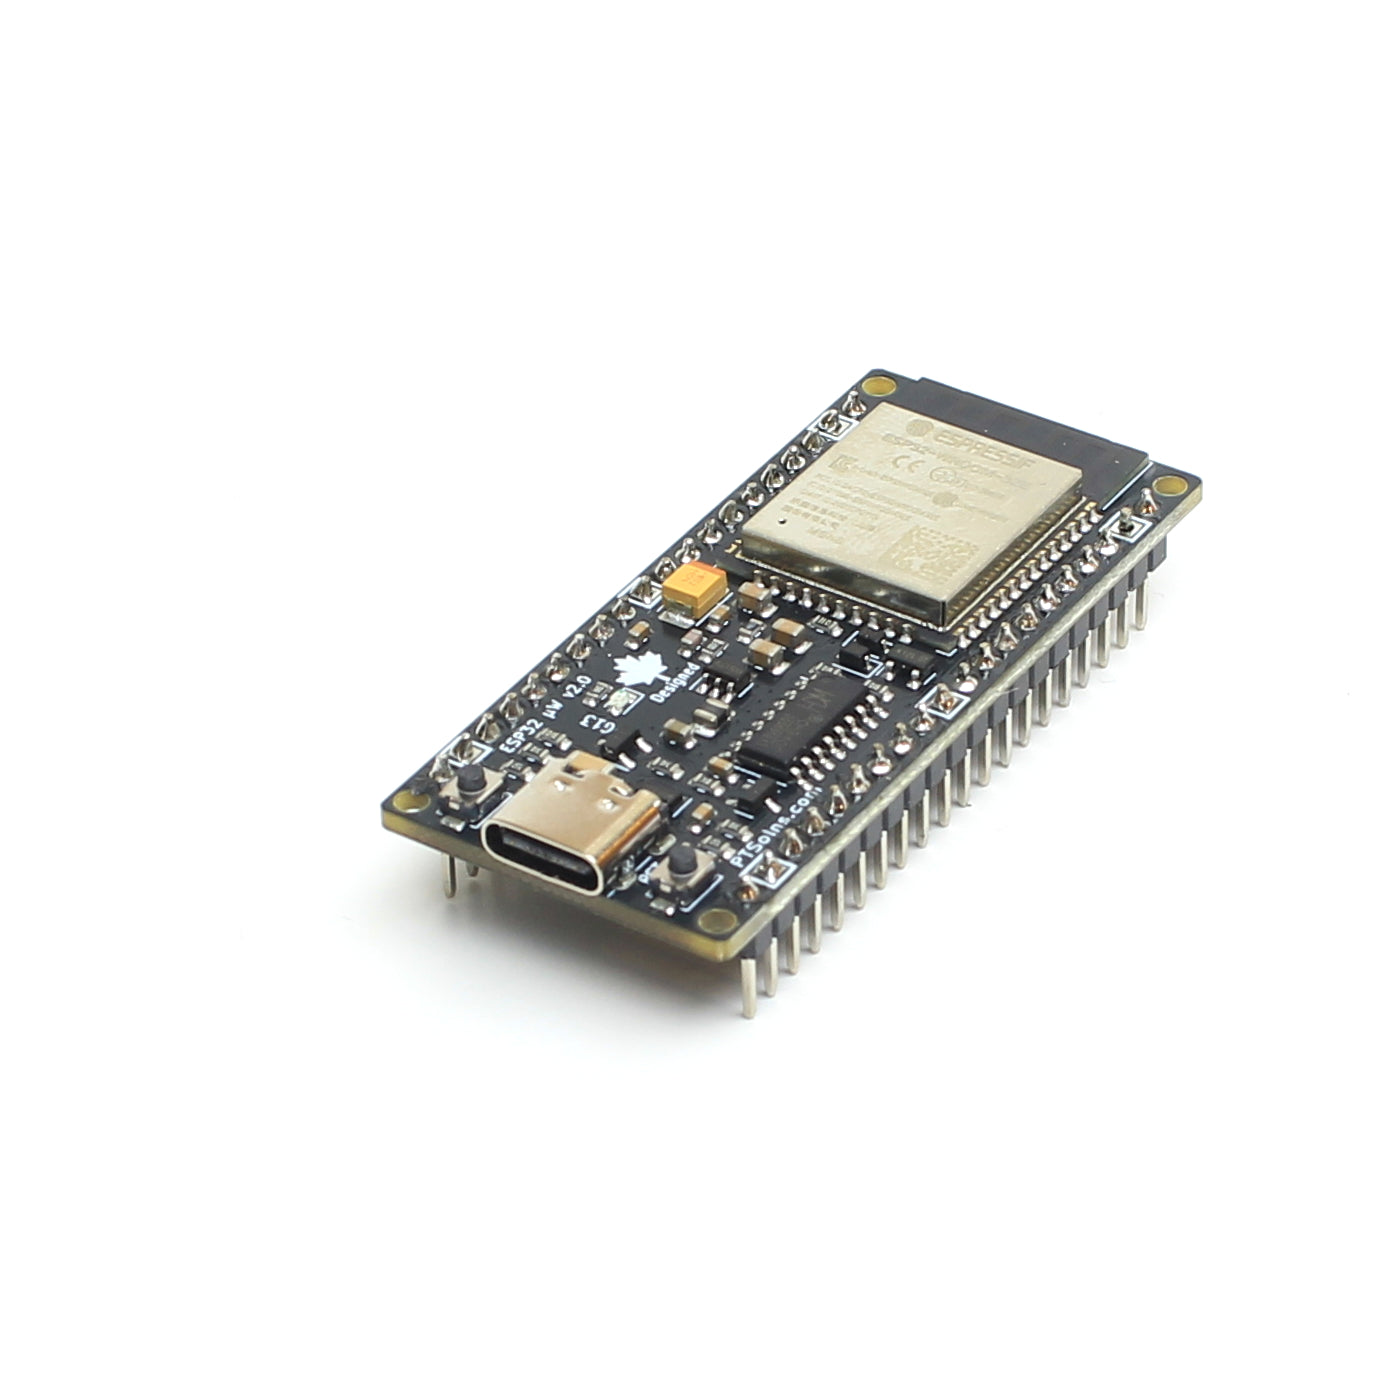
We are using the PTSolns Nano Flip. This is due to the fact that the onboard voltage regulator can supply 800 mA if Vin = 7 V. In fact, we wrote a blog post about this, comparing the current draw and temperature rise to other Nano development boards: TTB #14: Testing the 3.3V Pin of Popular Nano Dev Boards. To make the setup quick and convenient we are using the PTSolns NTEA-LG, in which the Nano sits. This provides lots of breakout pins to connect the servo to.
The servo connections are as follows
- Red wire on the servo to 5 V pin on Nano,
- Brown wire on the servo to the GND pin on the Nano,
- Orange wire on the servo to D9 on the Nano.
The below image shows the simple test setup:

For when we are powering the board and servo from the USB port, we are going to connect in series our Power Profiler Kit 2 (PPK2). This is an excellent and affordable tool that can measure very small current draws all the way up to 1 A. We use this often and recommend it highly (we are not sponsored by them, just fans of their tool). We are using the PPK2 to not just measure the current draw (Amp meter), but also supply the current itself. Because of this, we are limited to 5 V max output. Excellent for simulating powering from the USB port, but not so useful for power from the Vin pin (need 7 V for that).
For when we are powering the board and servo from the Vin pin, we will use a standard power supply. In this setup, we are expecting slightly higher current draw, as the input current is higher, and therefore there are larger losses across the linear voltage regulator (in the USB powering setup, the voltage regulator is entirely bypassed and hence there we no such equivalent losses). But since neither the power supply nor our digital multimeter can measure the current as precisely as the PPK2 (pick up on short-lived spikes), we are only really concerned in this test setup that the 5 V power rail remains within a reliable range even when a large load such as the servo is connected.
Sketch Loaded on the Nano
We want to spin the servo clockwise and counterclockwise at full speed. In order to do so, we are using the Nano's EEPROM to remember the rotation direction. When the reset RST button is pressed the previous direction is read from the EEPROM, reversed and saved back into EEPROM. This way every RST press changes the servos direction. We did something similar in a previous post where we used the Nano's EEPROM to count button presses: TTB #18: Using EEPROM on the Nano Flip to Make a Button Logger.
The sketch itself is fairly straight forward. We uploaded it using Arduino IDE.
#include <EEPROM.h>
#include <Servo.h>

const uint8_t SERVO_PIN = 9;

const int EE_SIG_ADDR = 0;
const int EE_DIR_ADDR = 1;      // 0 means next is backward, 1 means next is forward
const uint8_t EE_SIG  = 0x42;

Servo myservo;

void setup() {
  myservo.attach(SERVO_PIN);

  if (EEPROM.read(EE_SIG_ADDR) != EE_SIG) {
    EEPROM.update(EE_SIG_ADDR, EE_SIG);
    EEPROM.update(EE_DIR_ADDR, 0);   // first toggle will run forward
  }

  uint8_t dir = EEPROM.read(EE_DIR_ADDR) & 1;
  dir ^= 1;                          // flip for this boot
  EEPROM.update(EE_DIR_ADDR, dir);

  if (dir == 1) {
    myservo.write(180);              // forward
  } else {
    myservo.write(0);                // backward
  }

}

void loop() {
  // Nothing here
}
Test Results
The image below shows the test measurement results using the PPK2, powering the Nano Flip and servo via the USB port.
There are four clusters marked with a servo start-up, and a press of the RST button. Every time the reset button is pressed, the Nano restarts and reverses the servo direction (done using the Nano's EEPROM). The servo start-up current spikes are around 500 mA. This is the inrush current to start the servo. It is short-lived but more than double the amplitude compared to the approx. 200 mA steady state current.
In the first two clusters we manually held the servo shaft to prevent it from spinning. This caused the servo to stall and draw a large current, again around 500 mA. In the last two clusters we did not do this just to show the difference. In all events, we never saw any current spike or sustained draw exceeding 600 mA. This includes the little bit of current the Nano dev board itself draws.
To be technical, the PPK2 took only 100,000 samples per second, and therefore it is possible that a current spike shorter than this sample rate could be missed in the measurement. This means, it is possible that an even larger current spike could have occurred, but it would have been extremely short-lived, AND in all of our testing we never happened to catch one, so 600 mA can be considered the maximum observed demand.

As explained above, for the second part of the test where we power from the Vin (at 7 V) from the power supply, we did not take any current measurements. We note however, that the stall current was a bit higher than what was measured in the PPK2. This is because the losses on across the voltage regulator (current times the voltage difference) and also the accuracy in the power supply current measurement.
However, we did measure the 5 V rail voltage under steady state and stall conditions and note that the voltage never dropped below 4.96 V. This is a very good voltage, nowhere near any potential brown out scenarios.
Conclusion
We tested a 9g 360° servo motor directly powered from the 5 V rail on the Nano Flip. Powering the Nano from the USB port and the Vin pin have different implications, but when caution is taken, either can be used to operate the servo. Even under stall conditions and start-up inrush currents the system was stable and able to provide the power.
That being said, we do caution with this setup. Other microcontroller development boards may not have the required rating, or a user may accidently use a USB 2.0 port. We would only recommend this setup for initial testing of a larger project. When you just want to quickly get a servo spinning for educational or proof-of-concept testing, then powering the servo from the Nano is acceptable and within ratings. However, in the real world, not in a lab setting, the conditions may change unfavorably. For any permanent project, we would continue to recommend to use a separate power supply for the servo motor.