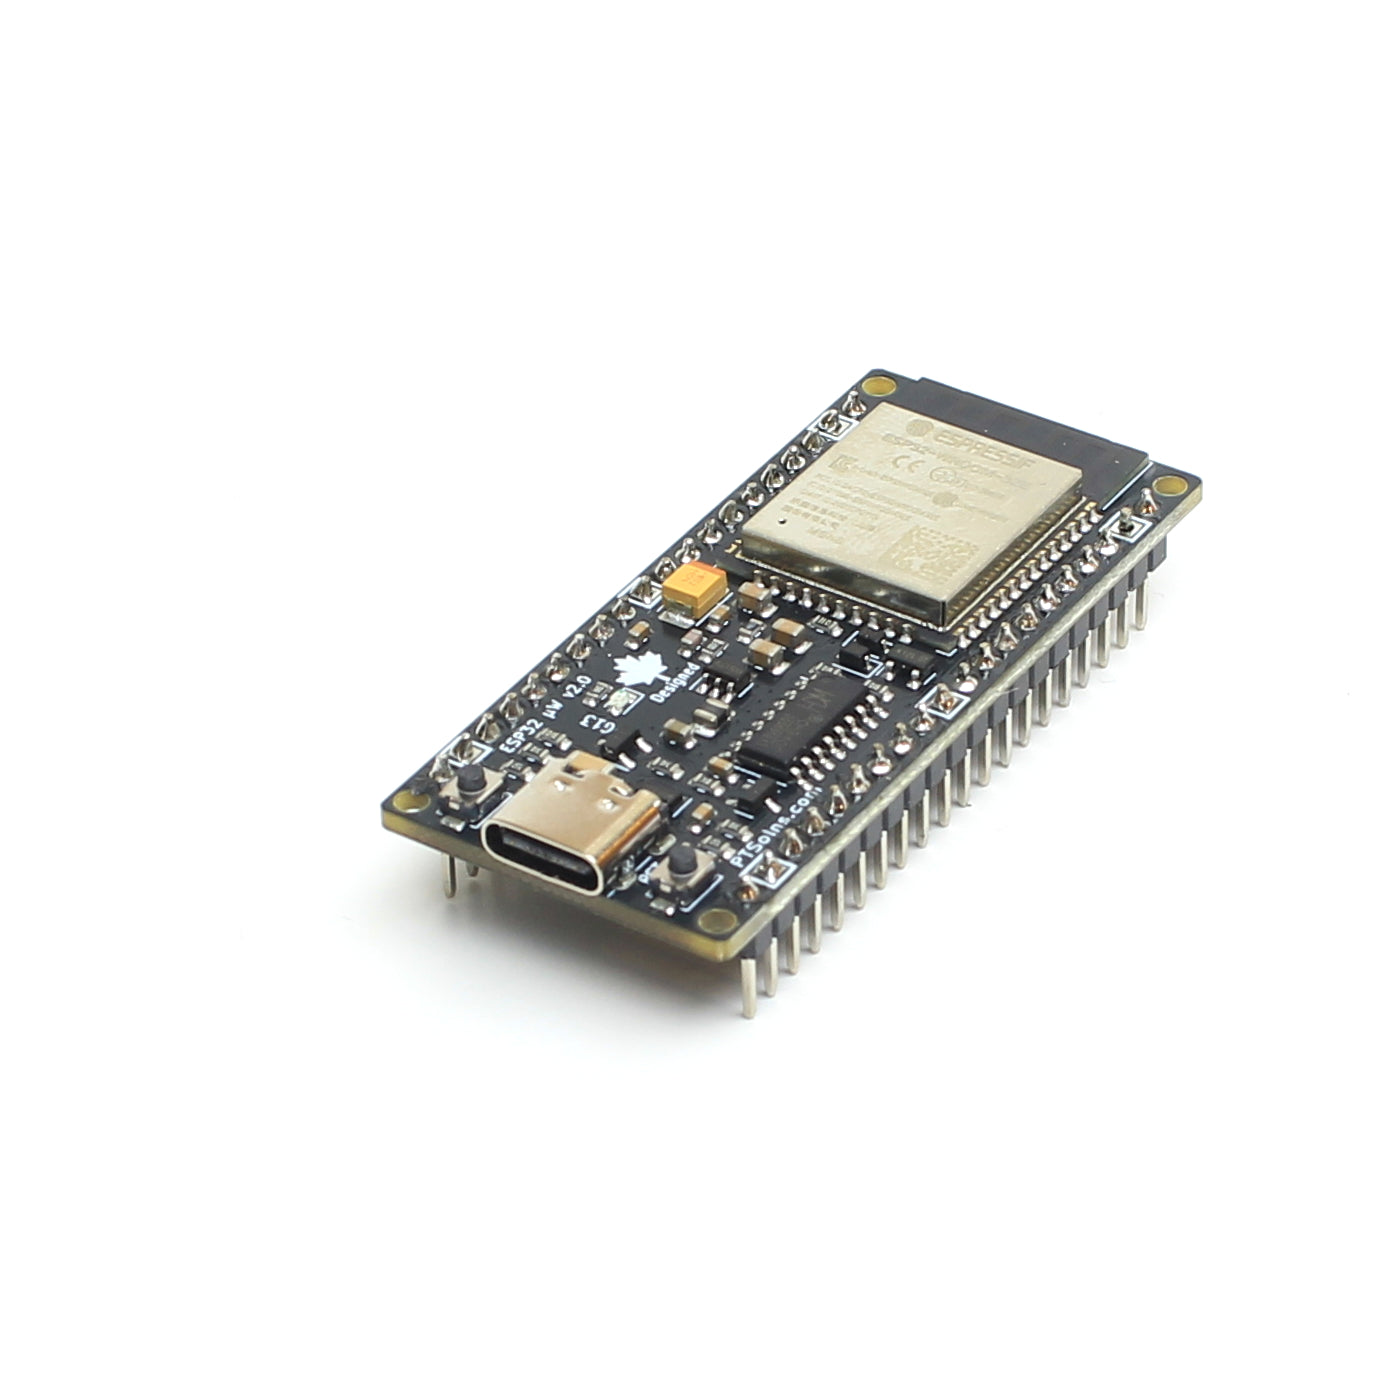


Need to shorten a female header strip? Unlike male headers, female headers cannot simply be snapped apart without damaging the connector. The easiest method is to remove one of the internal pins first, creating a gap where the plastic can be cut cleanly.
Step 0: Count the Pins
Count the number of pins you want in your finished header, then add one. The extra pin will be sacrificed during the process, so it is important to count correctly before you begin.
For example:
- Want a 6 pin header? Count to 7.
- Want an 8 pin header? Count to 9.

Step 1: Remove the Sacrificial Pin
Using a pair of pliers, grip the metal contact inside the extra position and carefully pull it out of the plastic housing.
This leaves an empty cavity between the two sections of the header.
Step 2: Cut the Plastic
Using flush cutters or a hobby knife, cut through the plastic where the metal contact was removed.
Since there is no longer a metal contact in this position, the plastic can be cut much more cleanly without damaging either end of the finished connector.
Step 3: Sand the End
Lightly sand or file the cut end to remove any rough edges or plastic burrs. This gives the header a clean, factory-like finish.
Important Tip
This method always sacrifices one pin. Remember to count the number of pins you need, then add one before removing the metal contact.
For example, if you need a 10 pin female header, start with at least an 11 pin section.
Video Tutorial
If you'd like to see the process demonstrated, watch our step by step video:
This same technique works for standard 2.54 mm female header strips commonly used with Arduino, ESP32, Raspberry Pi, breadboards, and other electronics projects.