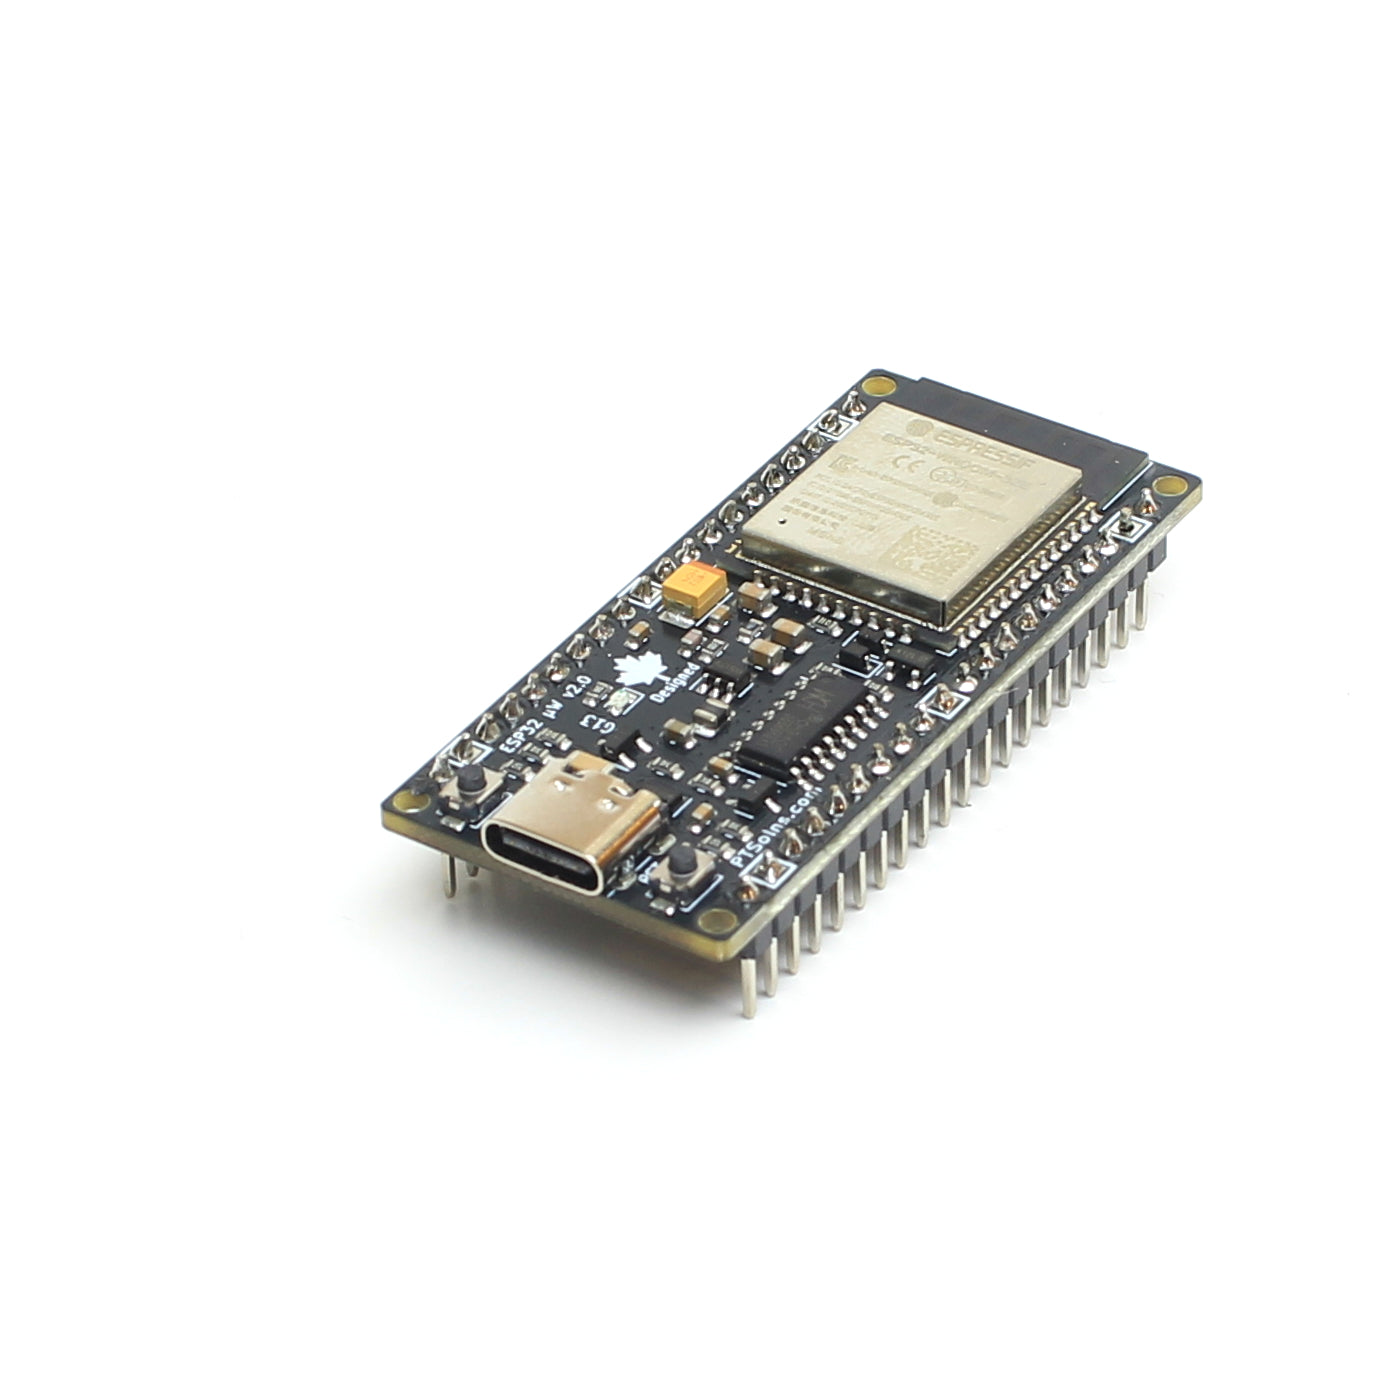

We expect that a 5VDC relay module would trigger with a control signal of 5V... well yes, of course. However, sometimes we do not have 5V control signal available but rather a 3.3V signal, and we don't want to use a logic level shifter either. Now what? Here we want to explore whether it's possible to reliably control a 5V single pole relay module using a 3.3V logic signal, such as the one provided by the PTSolns ESP32 microWatt development board.
More specifically, we want to answer two important questions:
- Will the relay module trigger reliably at 3.3V logic?
- Is there any risk of damaging the ESP32 microWatt's control pin when doing so?
If you're just looking for the short answer, feel free to skip ahead to the Conclusion section. But if you're interested in the analysis and supporting measurements, read on.
The Relay Module Schematic
Many common relay modules, such as this one, include:
- A IN pin: logic-level input (from the microcontroller)
- VDC+: supply voltage for the relay coil (usually 5V or 12V)
- VDC-: ground (shared with microcontroller GND)
In our case, VDC+ is connected to a 5V supply, while IN is connected to a 3.3V GPIO pin from the ESP32 microWatt.
We've created a schematic of the single channel relay module — based on the reverse-engineered relay module analysis from this blog post by K6JCA.
Note that there are two trigger configurations for this relay module: trigger when signal goes high (H), and trigger when signal goes low (L). We are using the module in the H configuration.

DISCLAIMER: The schematic provided in this blog post is based on reverse-engineering and publicly available information. While we’ve done our best to ensure its accuracy, PTSolns makes no guarantees that the schematic is error-free or suitable for any specific application. Always verify circuit designs independently before use in critical systems. Use this information at your own risk.
How It Works Electrically
Relay modules of this type typically include a transistor that is switched by an optocoupler (A.k.a. optoisolator). The optocoupler is used to electrically isolate the control pin of the microcontroller from the high voltage switched by the relay. However, depending on the schematic of the relay, there could be partial electrical isolation or full. In the case of this particular relay module the ground is shared between the microcontroller and the relay module. Although two different positive voltages (one for the relay module on DC+ and one on the microcontroller) can be used to power each, the grounds are shared nonetheless. More on this below...
With the H setting, when IN goes from GND to 3.3V, the optocoupler triggers the transistor to close. This allows current to conduct from the Emitter to the Collector and hence powering the relay.
The LED of the optocoupler has a forward voltage drop of about 1.2V (see the datasheet of the 345 optocoupler). The resistor R2 is a current limiting resistor with a value of 2.2kΩ. We can calculate then the current draw on the control pin IN, namely:
IN = (3.3V - 1.2V) / 2200Ω = 0.95mA.
This is well within the safe drive limits of the ESP32 microWatt's GPIO pins, which can easily source this current without risk of damage.
On a side note, if we use a 5V control signal, the current draw on the IN is not significantly higher. Namely, it would draw about 1.7mA. However, keep in mind that this 5V relay module was initially designed to work with a 5V control signal. Therefore, the current of 1.7mA is the designed current draw to fully operate the optocoupler. Keep that in mind for later on in the Modification section below...
Note that there is a small voltage drop across the transistor from Emitter to Collector while conducting. The voltage drop depends on the voltage at the Base, which in turn depends on the optocoupler. We have found experimentally that with a IN = 3.3V, the voltage at the Collector (let's call it V_collector) is about 4.16V. Out of curiosity we also see that IN = 5V makes the V_collector = 4.46V.
We can conclude from this that with a control signal of 5V, the transistor is "more open" than with a control signal of 3.3V. However, now the question becomes, will the 4.16V at the Collector (which is the input to the relay) be sufficient to trigger the relay.
Will It Trigger Reliably?
Yes — and here's why.
The 5V single-pole relay typically has a specified “Max Operate Voltage” of 3.75V (75% of the rated voltage), meaning this is the minimum coil voltage at which the relay is guaranteed to activate under ideal conditions.
Since V_collector = 4.16V when using 3.3V logic, this exceeds the threshold by a safe margin.
In testing, we found that to operate at the 75% rated voltage region (3.75V), the control voltage has to be around IN = 2.4V. So with the ESP32 microWatt’s 3.3V logic, you’re comfortably above the activation threshold, making it a reliable option.
Power Draw Considerations
Aside from the ~1mA drawn by the control pin, the relay coil itself draws around 60–65mA from the 5V rail (VDC+).
Here’s a summary of our testing for the 5V relay module:
| IN Logic Level | GPIO Current Draw (IN) | Relay Coil Voltage (V_collector) | Relay Coil Current (VDC+) |
|---|---|---|---|
| 3.3V | ~1.0mA | 4.16V | ~60mA |
| 5V | ~1.7mA | 4.46V | ~65mA |
If powering the ESP32 microWatt from a USB-C cable, then the Vb pin can be used to power the relay module. The Vb pin is simply the USB-C 5V supply. However, if your project includes an external 5V source (such as a USB wall adapter or dedicated regulator), it can easily power the relay coil and the microcontroller from the same power rail.
If you're using boards like the PTSolns Uno R3+ or Nano Flip, their onboard 5V regulators can supply this current with no issues.
Connection Example
The below image shows one possible connection example of how to connect the ESP32 microWatt to the relay module. In this example GPIO G25 is directly connected to the IN port. As discussed above, we don't have to worry about drawing too much current on this pin, thanks to the 2.2kΩ current limiting resistor. To drive the relay, the signal on G25 has to simply be toggled from LOW (0V) to HIGH (3.3V) in the software (such as Arduino IDE).
There are many pins to choose from that all equally well could be used to generate the control signal. The user is referred to the pinout diagram found in the datasheet of the ESP32 microWatt for more details.
As was outlined at the beginning of this blog, this particular relay module shares the ground with the relay module and the microcontroller. Therefore, there is only partial electrical isolation. If you don't care about this, then just go ahead and connect the 5V supply rail to both the relay module and the microcontroller.
If you wanted, you could break the 5V power rail and have two separate power supplies for the relay module and the microcontroller. However, their grounds would nonetheless be shared.

If you are powering the ESP32 microWatt via the USB-C port, then it is possible to simply the above connection as follows.

Here we are using the Vb pin on the ESP32 microWatt, which is just the USB-C power output on the pin.
Note again that neither of the above connection examples provides electrical isolation from the relay to the microcontroller. If the user really want to achieve full electrical isolation, then a minor modification needs to be made to the relay module... well, very minor. The jumper cap (usually yellow) needs to be removed, and a wire from the central pin connected to the ground of the microcontroller.
In this way the optocoupler LED is powered by the microcontroller, which is completely electrically separated from the power supply, including ground, of the relay module. A picture of this connection example is shown below.

Modification To Work With a 12V Relay
We've tried the above analysis with a 12VDC relay module and a 3.3V control signal. With this we found it was not reliable to switch the relay. The reason being, the current limiting resistor R2, which was 2.2kΩ, changed to 10kΩ. The current draw drop to 0.21mA. This reduced the current too much and caused the optocoupler to not turn on fully, or sufficiently, to furthermore turn on the PNP transistor.
The current limiting resistor R2 for a 12VDC relay module was tuned such that as 12V control signal is used to switch the relay. Therefore, a 3.3V signal just isn't enough. A simple solution is to replace the resistor R2 with the same 2.2kΩ resistor as was done in the 5V relay module. Since we know that a near 1mA current draw is sufficient to operate the relay module, we could install a 2.2kΩ resistor.
However, why not do even better! Since we know the a current of about 1.7mA is the design current for this optocoupler, we should replace R2 with a value on the 12V relay module to match that. Working backwards, we calculate:
R2_12V = (3.3V - 1.2V) / 1.7mA = approx. 1.2kΩ
Therefore, if you want to reliably control a 12V relay module with a 3.3V control signal, you do need to modify R2 to be 1.2kΩ.
Note that the resistor R2 is of size 0805, which is possible, with some skill and practice, to solder by hand. This resistor is included in this resistor set. The below image points out where R2 is located on the module.

Conclusion
To answer the two original questions:
- Yes, the relay triggers reliably with a 3.3V GPIO from the ESP32 microWatt.
- Yes, it is safe for the microcontroller. The current draw is low (~1 mA), well within spec for ESP32 GPIO pins.
Just make sure your relay module's VDC+ is powered with a stable 5V supply. With that in place, there's no need for level shifters or external transistors — you can control the relay directly from the ESP32 microWatt with a 3.3V control signal.
From our analysis we found that using a 3.3V control signal for a 5V relay module, which as a current limiting resistor designed for 5V control signal) still operates in a reliable range. The current drop from the designed 1.7mA to 1mA, but remains perfectly operational for this relay module.
However, we've also learned that the equivalent 12V relay module cannot be controlled by a 3.3V control signal. The current drops below a level that operates the optocoupler fully. Not too worry, with a slight modification of the current limiting resistor this does become possible.
Finally, we saw that full electrical isolation is possible with this relay module. To do so remove the yellow jumper cap and connect the central pin to the ground of the microcontroller. Provide a completely separate power supply to the relay module.