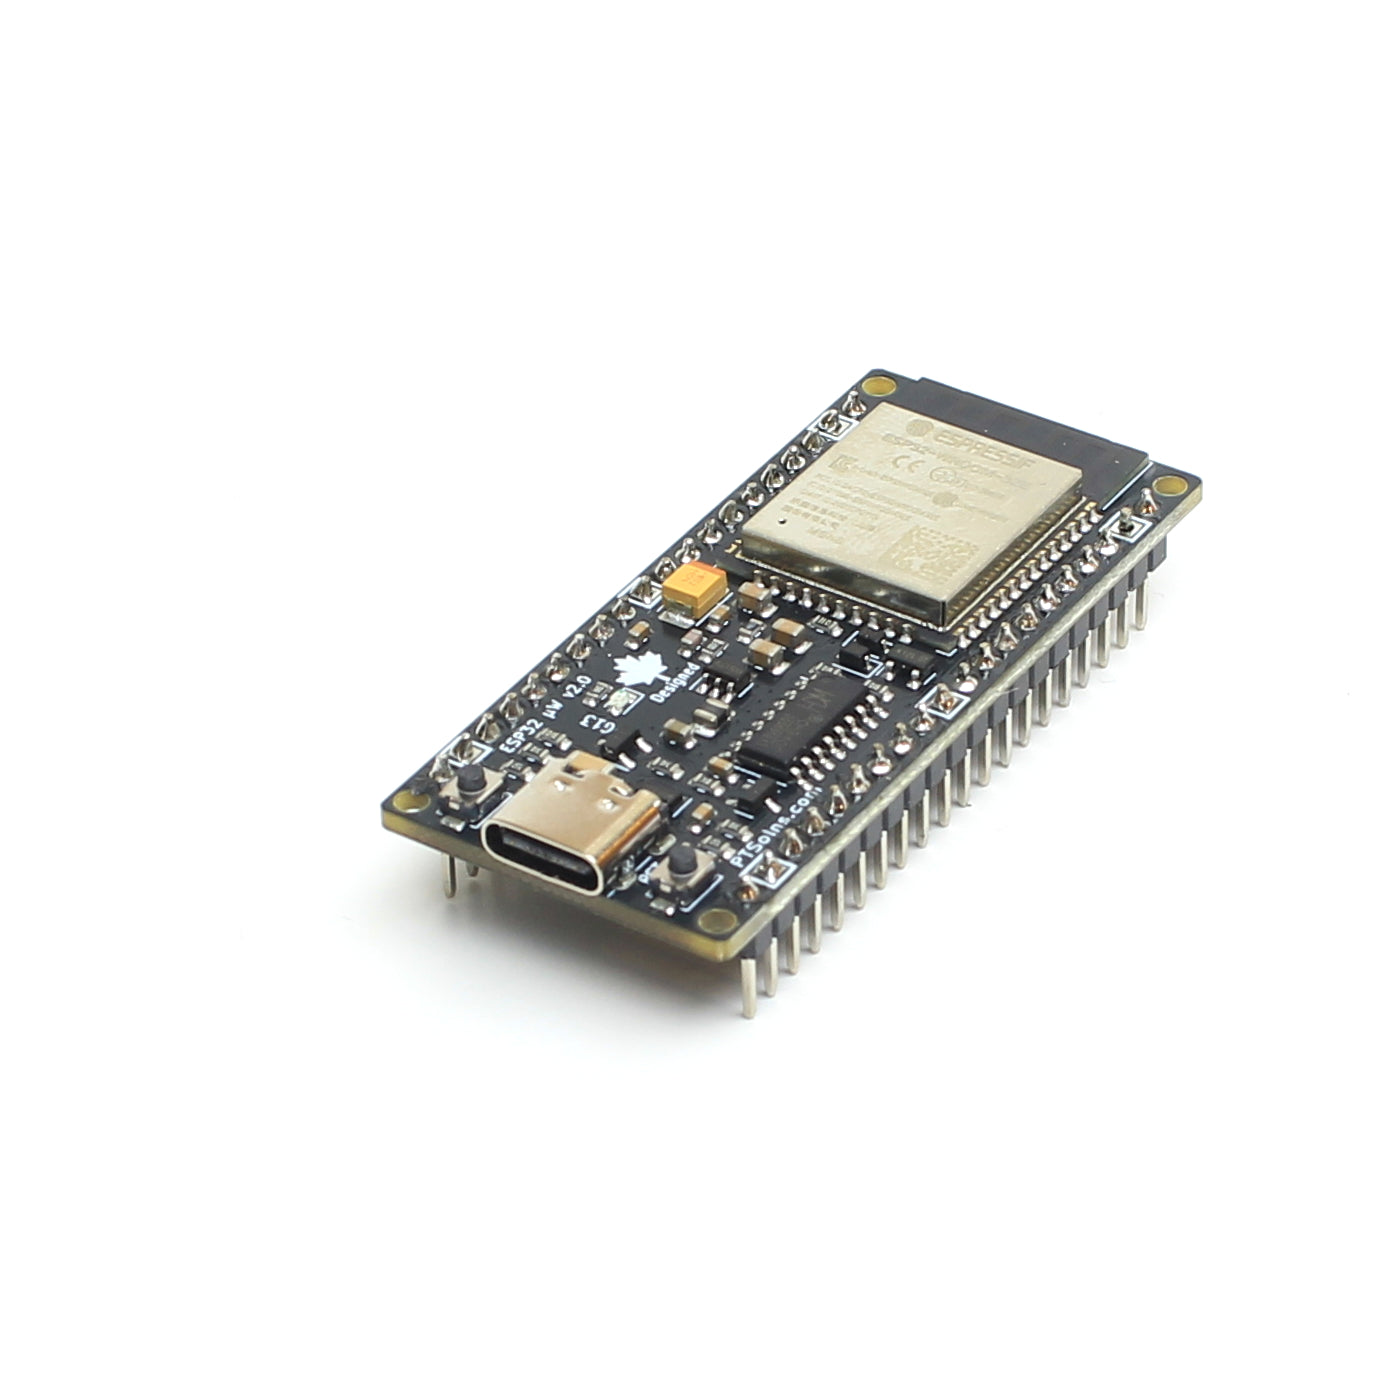


Whether you're building a simple point to point radio link or connecting to a LoRaWAN network, setting up a SX1276 LoRa node is relatively straightforward. At its core, every LoRa node requires the same five components: a LoRa module, a microcontroller, an antenna, a suitable power source, and, if you want maximum range, a good installation location.
Let's look at each of these in turn.
1. A SX1276 LoRa Module
The heart of every LoRa node is the SX1276 LoRa transceiver. This radio operates in the sub GHz ISM bands (such as 915 MHz in North America) and provides long range, low power wireless communication.
The SX1276 is available in many different forms, including:
- Standalone radio modules
- Arduino shields
- ESP32 development boards with integrated LoRa
- Custom PCBs
Some development boards already include the microcontroller, while others expose only the radio itself.
2. A Microcontroller
If your SX1276 is supplied as a standalone module, you'll also need a microcontroller to configure the radio and process incoming and outgoing data.
Popular choices include:
- Arduino Uno
- ESP32
- Raspberry Pi Pico
The microcontroller communicates with the SX1276 over the SPI interface while using several additional GPIO pins for reset and interrupt signals.
3. An Antenna
No LoRa node is complete without an antenna.
Many SX1276 modules use either an SMA connector or a compact IPEX (U.FL) connector.
SMA
SMA connectors are robust and make it easy to connect external antennas. They are commonly used for fixed installations and outdoor projects where durability is important.
IPEX (U.FL)
IPEX connectors are much smaller and are typically found on compact modules where board space is limited. Although they save space, they are more delicate and are not intended for frequent connection and disconnection.
Antenna Gain
Antenna gain is commonly specified in dBi.
In general:
- 2 dBi provides an almost omnidirectional radiation pattern.
- 5 dBi offers additional range in many situations.
- Higher gain antennas generally provide longer horizontal range but a narrower vertical beam.
A higher gain antenna is not always better. The best choice depends on your installation and coverage requirements.
4. A Suitable Power Source
LoRa radios consume very little power while receiving or sleeping, but transmission is a different story.
At maximum transmit power, the SX1276 can draw more current than during normal operation. Make sure your power supply or battery can comfortably provide these short bursts without excessive voltage drop.
This is especially important when operating from batteries or small voltage regulators.
5. Bonus: Get Some Elevation
One of the easiest ways to improve LoRa range is simply to place your antenna higher.
Mounting your node on:
- A hill
- A rooftop
- A tower
- A tripod
- A mast
can dramatically improve communication distance by reducing obstacles and increasing line of sight.
Even raising an antenna by a few meters can noticeably improve performance.
Build Your Own SX1276 LoRa Node
If you're looking for an easy way to get started, the PTSolns LoRa Shield paired with the PTSolns Uno R3+ microcontroller provides a complete development platform for SX1276 based projects.
The shield is fully compatible with LoRaWAN networks while also supporting traditional point to point LoRa communication, making it suitable for experimentation, education, and real world IoT applications.
To see what this hardware is capable of, check out our LoRa range test where we achieved communication distances of more than 6 km using the PTSolns LoRa Shield.
Whether you're building environmental sensors, remote monitoring systems, agricultural devices, or long range telemetry applications, this combination provides a simple and reliable way to begin developing with LoRa.