Tinker Thoughts Blog
Welcome to the Tinker Thoughts Blog — hands-on projects, practical tutorials, and insightful tips in the maker and electronics space. We dive into a wide range of topics including Internet of Things (IoT), electronics troubleshooting, home automation, rapid prototyping, and RF communication. You’ll also find detailed guides on 3D printing custom enclosures and PCB mounts, as well as experiments in electrical circuits, embedded systems, and other DIY innovations. Whether you're a hobbyist, engineer, or curious tinkerer, you'll find inspiration and technical depth here.

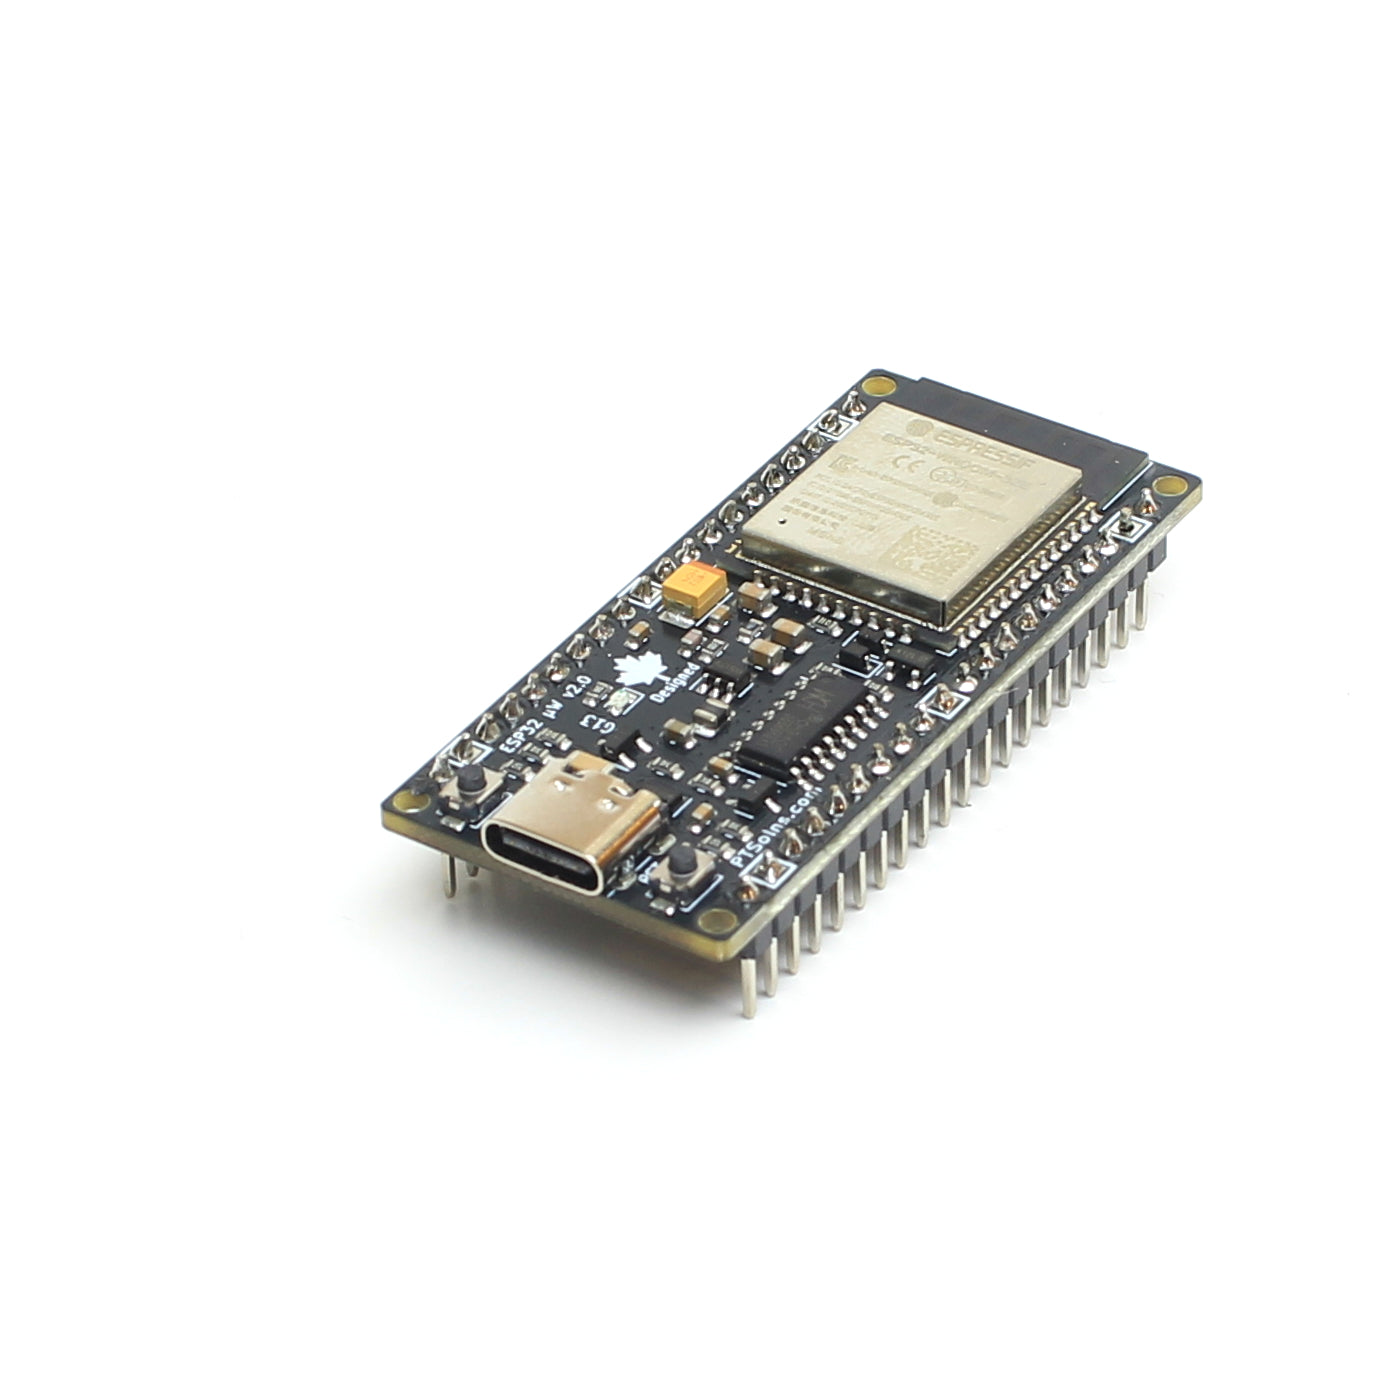
TTB#30 This is Why We Do QC
Ever wonder what goes into manufacturing a reliable microcontroller? Inside the PTSolns workshop, quality control (QC) is everything. In this post, we take you behind the scenes of our Thorough hardware testing procedure for the Nano Flip 3V3 fresh off the production line. Discover our multi-step electronics inspection process, from burning the custom ATmega328P bootloader and flashing firmware sketches to catching physical PCB manufacturing defects. Learn how we track failure rates, optimize circuit board performance, and handle defective hardware to ensure every microcontroller we package delivers top-tier reliability for your electronics projects.

TTB #29: Pushing the Limits: A 6km LoRa Range Test with the PTSolns SX1276 Shield
A recent field test of the PTSolns LoRa SX1276 915 MHz Shield demonstrated just how powerful long range IoT communication can be. In a real world countryside test, a transmitter node successfully maintained a reliable connection at a distance of over 6.15 km (3.82 miles). Using the SX1276 LoRa engine and onboard AHT20 environmental sensor, the system transmitted live data while tracking RSSI and SNR performance. Even with an SNR below the RF noise floor, packets were decoded reliably thanks to LoRa’s Chirp Spread Spectrum technology. This experiment highlights how LoRa enables robust, ultra long range wireless communication for remote...

TTB #28: Node-to-Gateway LoRa Network
This tutorial demonstrates how to build a simple and reliable node to Gateway LoRa network using the PTSolns LoRa SX1276 915MHz Shield and a compatible Uno development board. Assuming a working nearby Gateway, this tutorial shows how to configure The Things Industries End Device so to work with the Shield. Full sketch and steps are provided. Hardware setup is minimal, requiring only stacked shields and USB cables, making this an accessible starting point for long range wireless experimentation.

TTB #27: Node-to-Node LoRa Network
This tutorial demonstrates how to build a simple and reliable node to node LoRa network using the PTSolns LoRa SX1276 915MHz Shield and a compatible Uno development board. You will learn how two LoRa nodes communicate directly without a gateway, transmit temperature data using the onboard AHT20 sensor, and implement acknowledgements to improve reliability. The tutorial also explains how to interpret RSSI and SNR values to evaluate link quality and range. Hardware setup is minimal, requiring only stacked shields and USB cables, making this an accessible starting point for long range wireless experimentation.

TTB #26: Hacking a Cuckoo Clock
When a regular Cuckoo clock just is not exciting enough, adding an on demand remote button changes everything. In this project we built a two node wireless link using matched nRF24L01 plus PA plus LNA modules mounted on PTSolns NRF Shields. The transmitter detects a simple button press while the receiver drives a solid state relay that parallels the original clock button. A quick splice into the clock’s internal adjust switch lets the relay mimic a real press. The result is a fully wireless Cuckoo trigger that works from across the room and is surprisingly fun to use.

TTB #25: Giving Life to an OLD Digit Display
If you tinker with electronics long enough, you eventually build a stash of random spare parts. In this post, I dig into components from my 25 year old collection and revive a single digit seven segment display that has not seen power in decades. After mapping each segment to GPIO pins on the Nano Flip, I programmed two simple display modes: a rotating chase pattern along the outer segments and a repeating counter from zero to nine. It is a fun reminder that even old salvaged parts can still shine with a little curiosity and a few lines of code.